| The following instructions cover typical usage of Outlook and assume the software has been installed correctly on your system. |
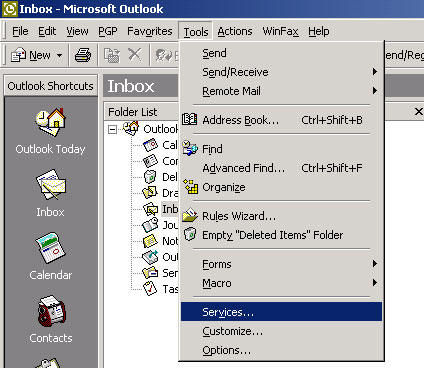
| Step 1. On the Tools menu, click Services. |
 |
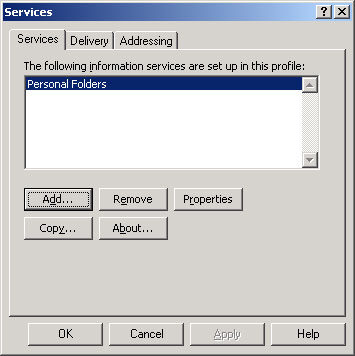
| Step 2.Click Add. |
 |
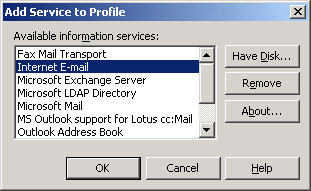
| Step 3.
In the Available information services box, click Internet E-mail, and then click OK. |
 |
| Step 4.
On the General tab, type a name for your new Internet e-mail account, and then type your user information in the appropriate boxes. |
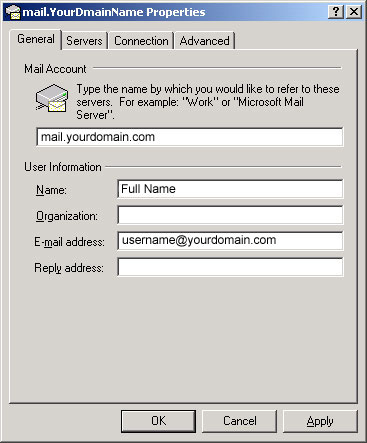 |
| Step 5.
On the General tab, type a name for your new Internet e-mail account, and then type your user information in the appropriate boxes. |
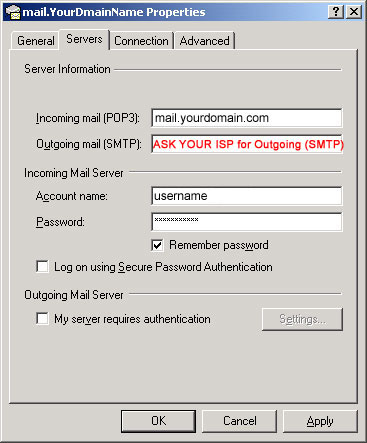 |
| Step 6.
Select any other options that you want on the Connection and Advanced tabs.Click Apply and OK . |